
 Alison McLennan
Multi-Room Remodels: When It Makes Sense to Do More at Once
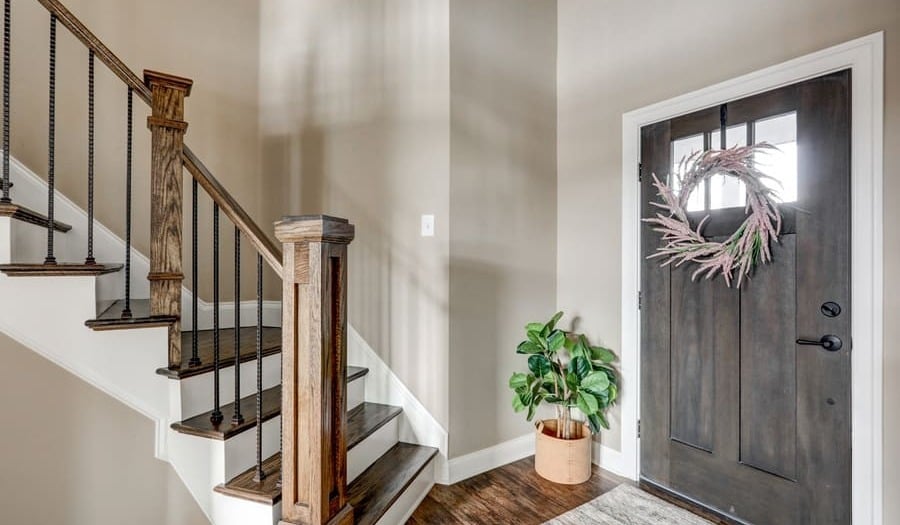
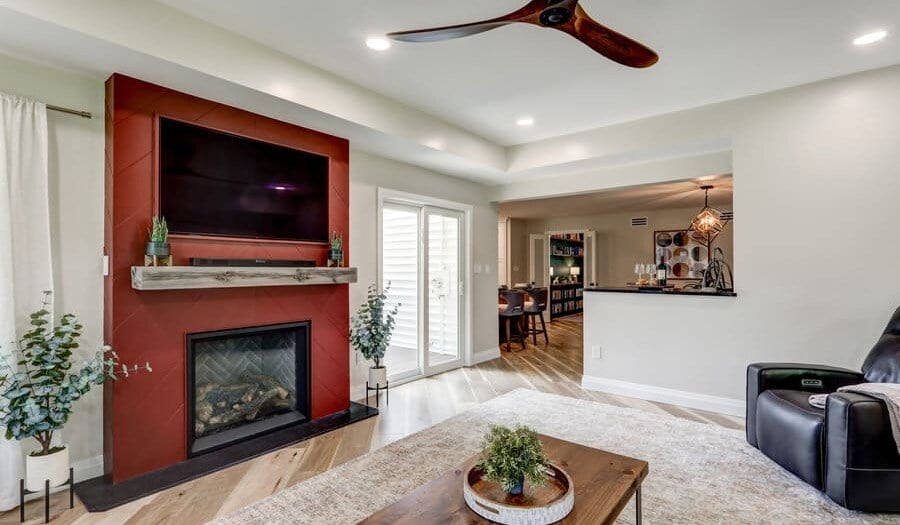
We started with the kitchen.
I was a painting newbie before Tim and I gutted and remodeled our first home, but that didn’t keep me from dreaming.
From the moment we signed the purchase contract, I couldn’t wait for painting to begin. In my mind’s eye, the dilapidated hovel we’d just claimed as our own would be transformed into a fresh, inviting sanctuary with a few gallons of Benjamin Moore.
But first, demolition. Then roofing. Electrical and plumbing. Drywall. More drywall. Finishing drywall. Drywall out the ears.
Eight months later, FINALLY, it was time to paint. I’d been studying color decks for weeks, pacing from room to room, testing the light and muttering to myself like an asylum escapee. But now, I’d made my choices, and I had a blank canvas. Every wall, ceiling, and trim piece awaited my ministrations.
The fun was about to begin.
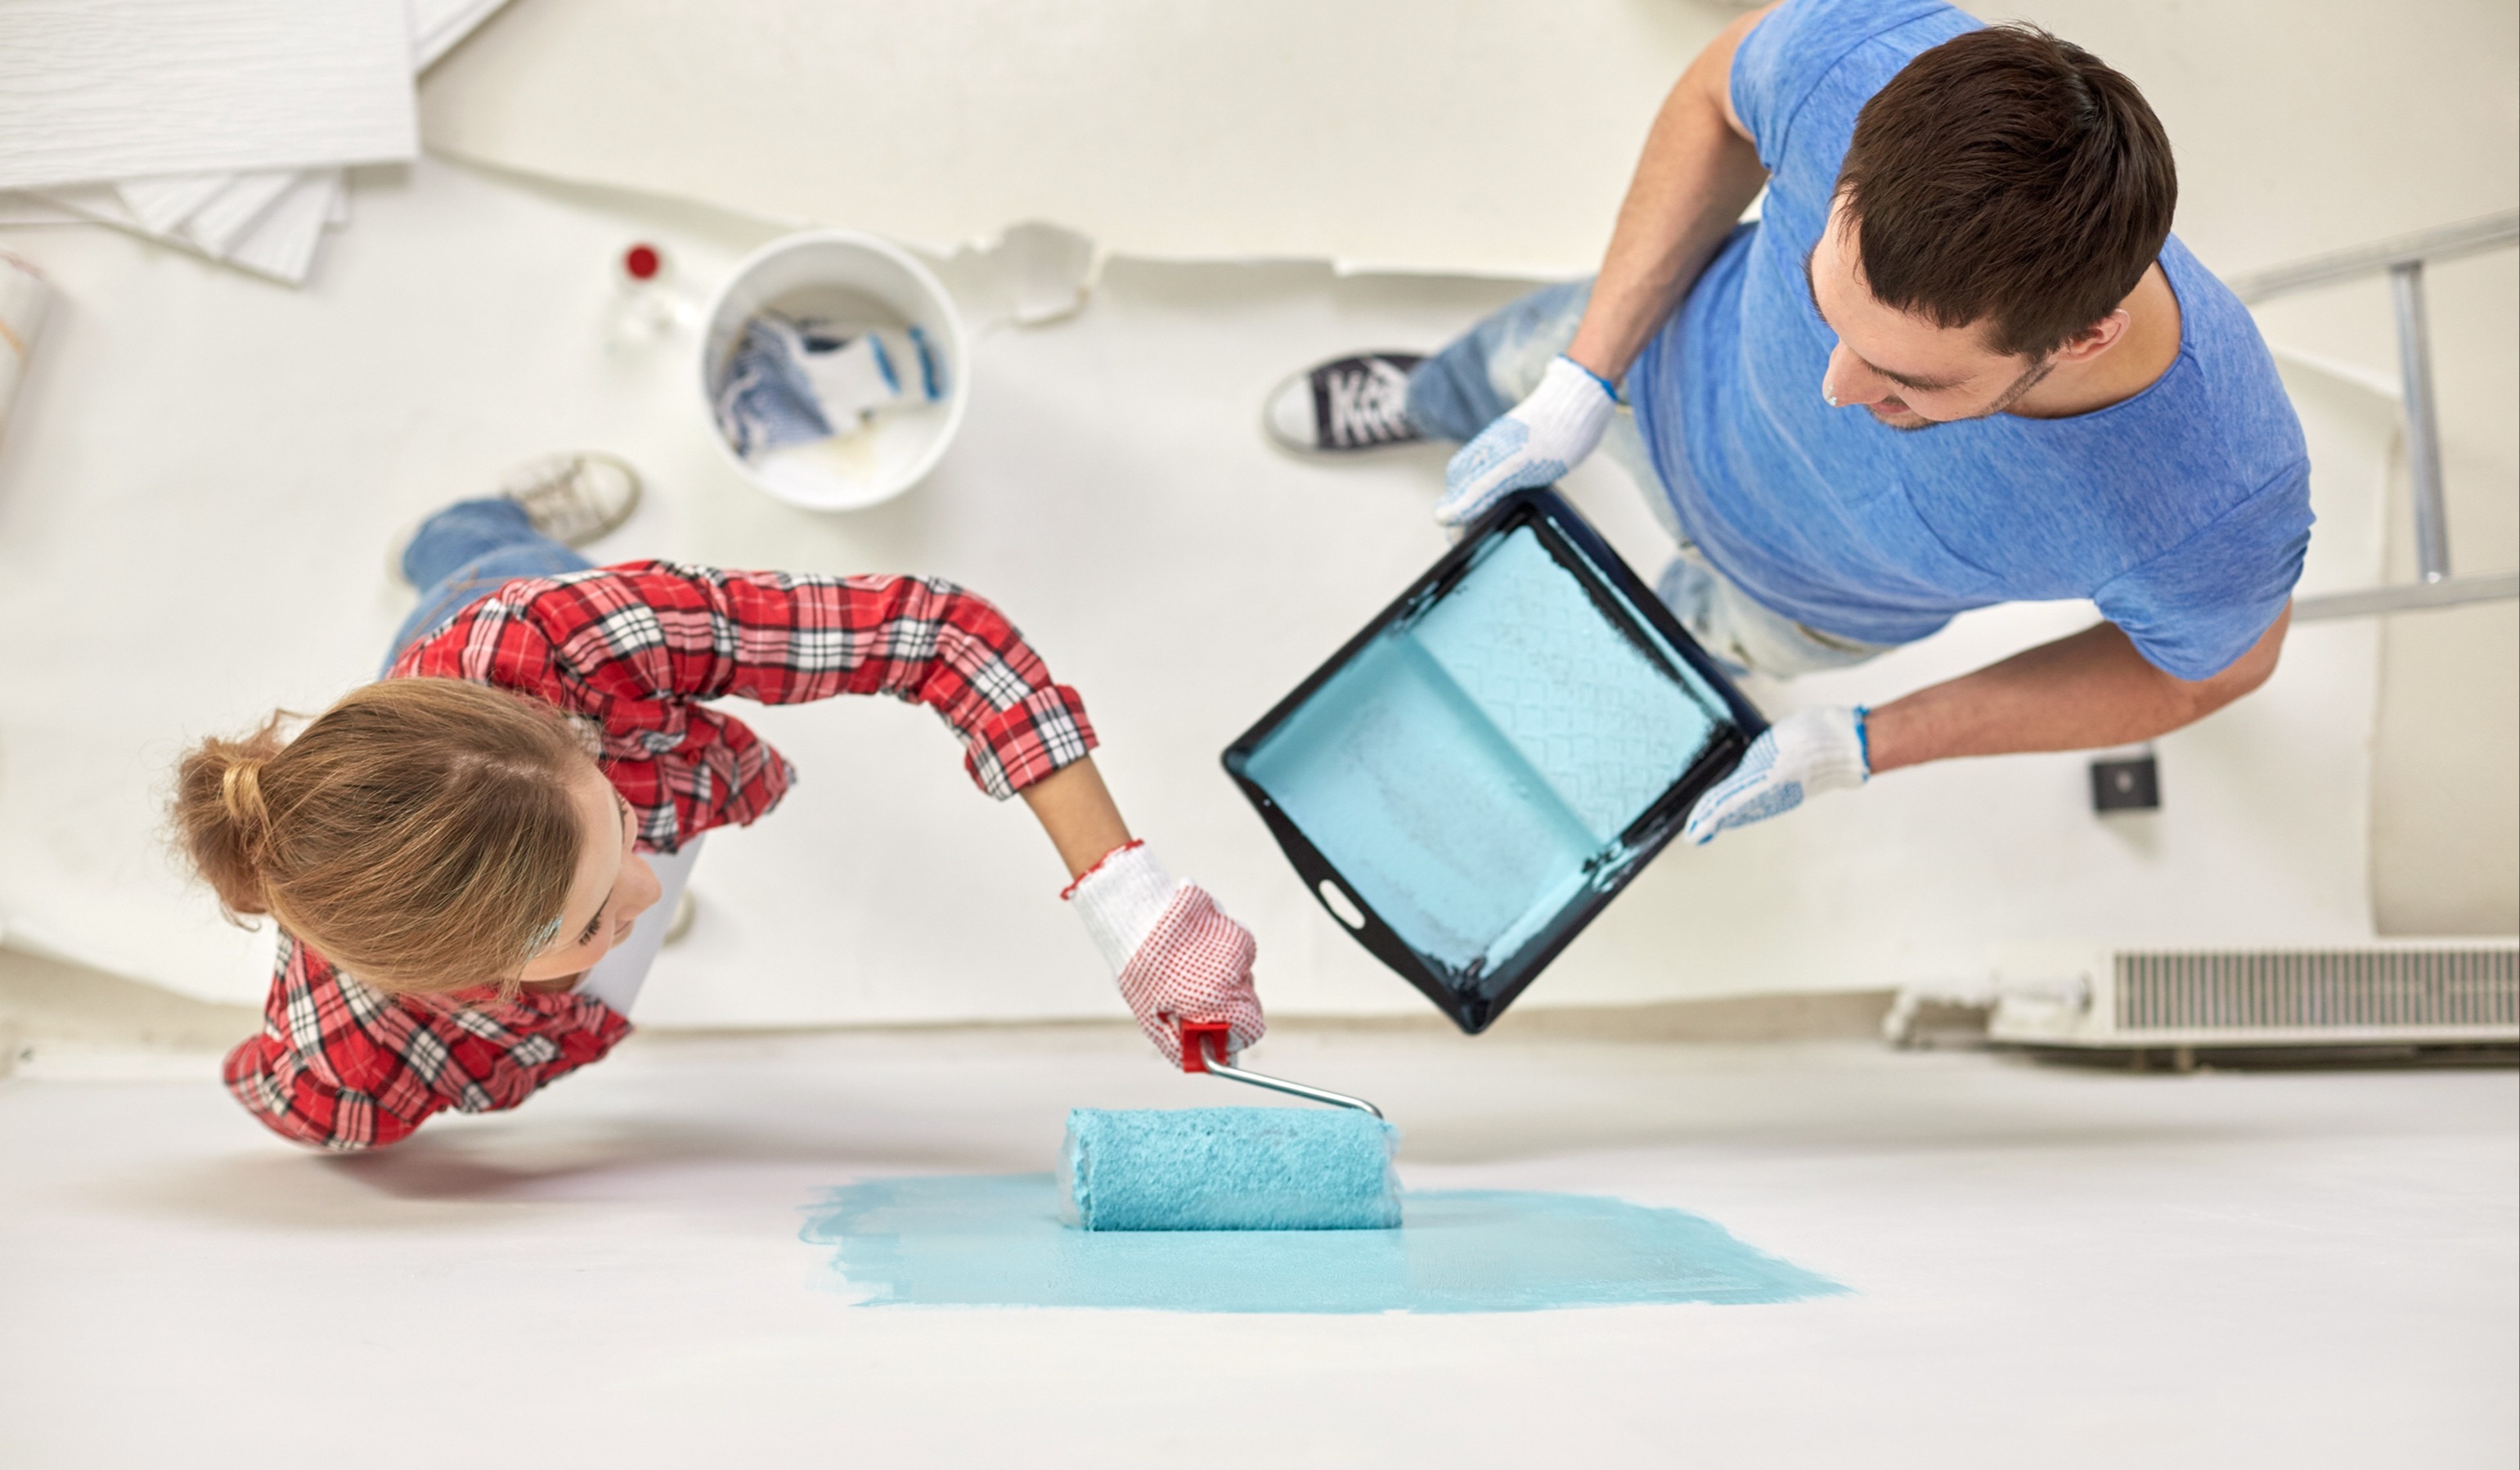
Ah, the naivete. As if painting is simply a matter of slapping color on walls and calling it a day. As I agonizingly discovered over the coming weeks, painting is yet another process, just like demolition, renovation, and, yes, the dreaded Drywall. It involves stages, requires patience, and sometimes even forces you to literally wait for paint to dry.
Today, with several whole-house renovation and painting projects behind me, I can honestly say I love painting. Why? Because I’ve learned what to expect. Realistic expectations are the key to frustration-free painting.
To that end, I offer this breakdown of the painting process, along with a few tips and tricks I’ve learned (mostly from Tim) along the way.
Cleaning may be minimal depending on the room you’re painting and how it’s been used, but even a freshly renovated room will need a thorough vaccuum and dusting.
TIP #1: If you’re going to be painting a bathroom or kitchen, or any room where there may be soap, hairspray, or grease residue on the walls, be sure to scrub the walls with a mild degreaser before painting.
TIP #2: Also, if the wall has a glossy sheen from previous paint, scuff it with sandpaper before moving on. This will create miniscule scrtaches that will enable the new paint to adhere with a stronger bond.
And you might as well keep the vaccuum and rags handy, because cleaning happens off and on throughout the painting process. Accept it. Embrace it. Move on.
Most walls that have been previously painted will have hairline cracks, holes where pictures once hung, drip marks from previous painters who might not have been as particular as you, or ridges from plaster or Drywall (again, varying degrees of particularity). Providing none of these are significant, you can take care of them with a putty knife and a container of fluffy spackle.
First, sheer off dried drips with the putty knife, and make sure the Drywall or plaster around the edges of each hole is free of paper “fuzz” (not the technical term, but you know what I mean).
TIP #3: I like to press the blunt end of my putty knife against the holes to create a small indentation. That way I know the spackle will fill it without anything pushing through.
Next, spackle over the sheered-off drips and old holes.
This step requires patience. You have to wait for the spackle to dry, then sand it with a sanding sponge. Sometimes, if the nail hole is particularly large, or a ridge more pronounced, it takes a few coats of spackle. More waiting. And sanding. I dislike waiting and sanding. (Cue memories of Drywall.)
When you do finish, be sure to vaccuum up any dust created by sanding before moving on to the next step.
TIP #4: Once you’ve patched, dried, and sanded each spot, it’s smart to hit each one with a coat of primer or wall paint, since the spackle will be more absorbent than the rest of the wall. That way, when you roll the entire wall, the sheen will be uniform so your repairs blend right in.
One might argue that caulking belongs with prep work, but I think of it separately, for this reason:
You can caulk while waiting for fluffy spackle to dry, but say you sand the spackle after you’re just caulked the baseboard, and the caulk is still tacky. The dust from the spackle will stick and create bumps in the dried caulk, which will become more pronounced when covered with paint. You can see where this is going. Yes, I’m a tad OCD.
There’s also the matter of caulk not bonding well to unpainted spackle, so if you’ve repaired the wall where it butts up against a piece of trim, you’re better off waiting until you’ve had a chance to throw a coat of primer or paint over the spackle before caulking.
TIP #5: If you’re re-painting, chances are the trim has already been caulked. In that case, check for cracks or places where the caulk has pulled away from the wall or trim. You can cut these out with a utility knife and re-caulk to make sure those little gaps don’t mar your fresh paint job.
Known by many as the first level of hell.
Some people, like my dad, hate cutting in so much they refuse to acknowledge its existence and just go straight to rolling. Let someone else take care of those pesky corners and edges.
But someone has to do this dirty job, so let’s say it’s you. First off, recognize that cutting in gets a bum rap. People treat this phase like it’s a nuisance getting in the way of actual painting, when in fact it’s the most vital and labor-intensive part. When it’s sloppy, it can ruin the whole room. When it’s done well, it makes all the difference.
Doing it well takes time. But that’s okay, because when you’re done cutting in, you’re ready to roll, and rolling is a jet-speed cakewalk by comparison.
TIP #6: The #1 rule when cutting in? Slow down and recognize it for what it is: time-consuming but ESSENTIAL. It’s not holding you up from painting, it IS painting.
Tip #7: Invest in a decent brush. Purdy Clearcut![]() is my favorite. Larger brushers are fine for corners, but use a smaller, angled brush for detail work around trim. (FYI, this is an affiliate link, which means you get to purchase the brush for the same great price as always AND I make a small commission at the same time. Win-win!)
is my favorite. Larger brushers are fine for corners, but use a smaller, angled brush for detail work around trim. (FYI, this is an affiliate link, which means you get to purchase the brush for the same great price as always AND I make a small commission at the same time. Win-win!)
To tape, or not to tape? That is the question. Personally, I prefer to freehand it, but painter’s tape can come in handy if you’re not steady with the brush. Just make sure it’s adhering everywhere so your paint doesn’t leak beneath it. And remember that it’s a tool, not a license to glop paint on the wall without a care in the world. If you don’t paint smoothly along the edge of the tape, paint will peel off the wall when you pull the tape, or bits of tape will tear off beneath the dried paint.
Lastly, don’t forget that cutting in requires two coats. The good news is, the second coat goes five times faster than the first.
Finally, the big enchilada of the painting process. When people talk about painting, THIS is what they mean. Yet it’s the quickest, easiest part, and only looks good if you’ve done the first 4 steps well.
TIP #8: Some of the best advice I’ve ever received is to de-fuzz my roller with tape before loading it with paint. This prevents all those little clumpies from sticking to the wall and driving you batty. Just grab some painter’s tape, wrap it around the roller sleeve, and then pull it off, along with the loose fuzz. If your roller is of a heavier knap, you might want to repeat.
TIP #9: Keep in mind there are different types of rollers for different applications. I’m fond of our Purdy 4-inch mini roller, which takes small sleeves with rounded ends. I can use this to roll corners, which saves on my cutting-in time. It’s also handy for narrow sections of wall over doorways and around windows, where a standard roller would be too wide or awkward.
When rolling, take time to smooth out the paint with even pressure, keeping an eye out for drips and ridges where paint has pressed out of the roller unevenly. The side of the roller where the frame enters the sleeve will receive the most pressure from you, so take special note of that side.
The first coat of rolling is where the magic happens, finally transforming the room as you’ve imagined it. It’s tempting to rush right into a second coat and be done, but make sure you give the first coat adequate drying time. Then go ahead and add another coat.
Rolling is where paint quality makes a huge difference, because that’s when you find out how much paint you really need.
Quality, professional paint (we use Duron/Sherwin Williams) will usually get you to the finish line in two coats. If you’re bargain-shopping at a home improvement store, you might well need three coats to get full coverage. For that reason, the difference in cost between brand vs. budget isn’t as significant as it might seem.
And that’s a wrap! Assuming you’ve used drop cloths and managed to avoid spilling paint on the floor (been there, done that…bright orange on our sunroom carpet), cleanup is just a matter of scrubbing out pans and brushes with warm, soapy water.
TIP #10: When your brushes are clean, wrap the bristles in paper towels to help them dry in their original form without flyaways.
I hope this breakdown has been helpful. If you have questions, comments, or horror stories (we all enjoy a little commiseration), let me know below.
Here’s wishing you a frustration-free painting experience!

We started with the kitchen.
![Best Summer Activities in Lancaster, PA [2026]](https://www.mclennancontracting.com/hubfs/Untitled%20design%20(5)-1.png)
Days are longer, weather is warmer, and skies are brighter. It's time to get ready for fun-in-the-sun this summer in Lancaster County. Between pool...
If you love your home, you know: it’s not just a building. It’s a special place that offers comfort, holds memories, and welcomes those you love. And...
1 min read
Decorating your newly remodeled home is an exciting step, bringing your vision to life with personal touches and stylish details. Our team is...
1 min read
A few years ago, my husband forgot to lock the driver’s door of his truck before going to bed. Wouldn't you know, that night a thief hit our street....
1 min read
Have you ever wondered why certain colors become popular in interior design? Why was Agreeable Gray the go-to color for two decades? Or the avocado...